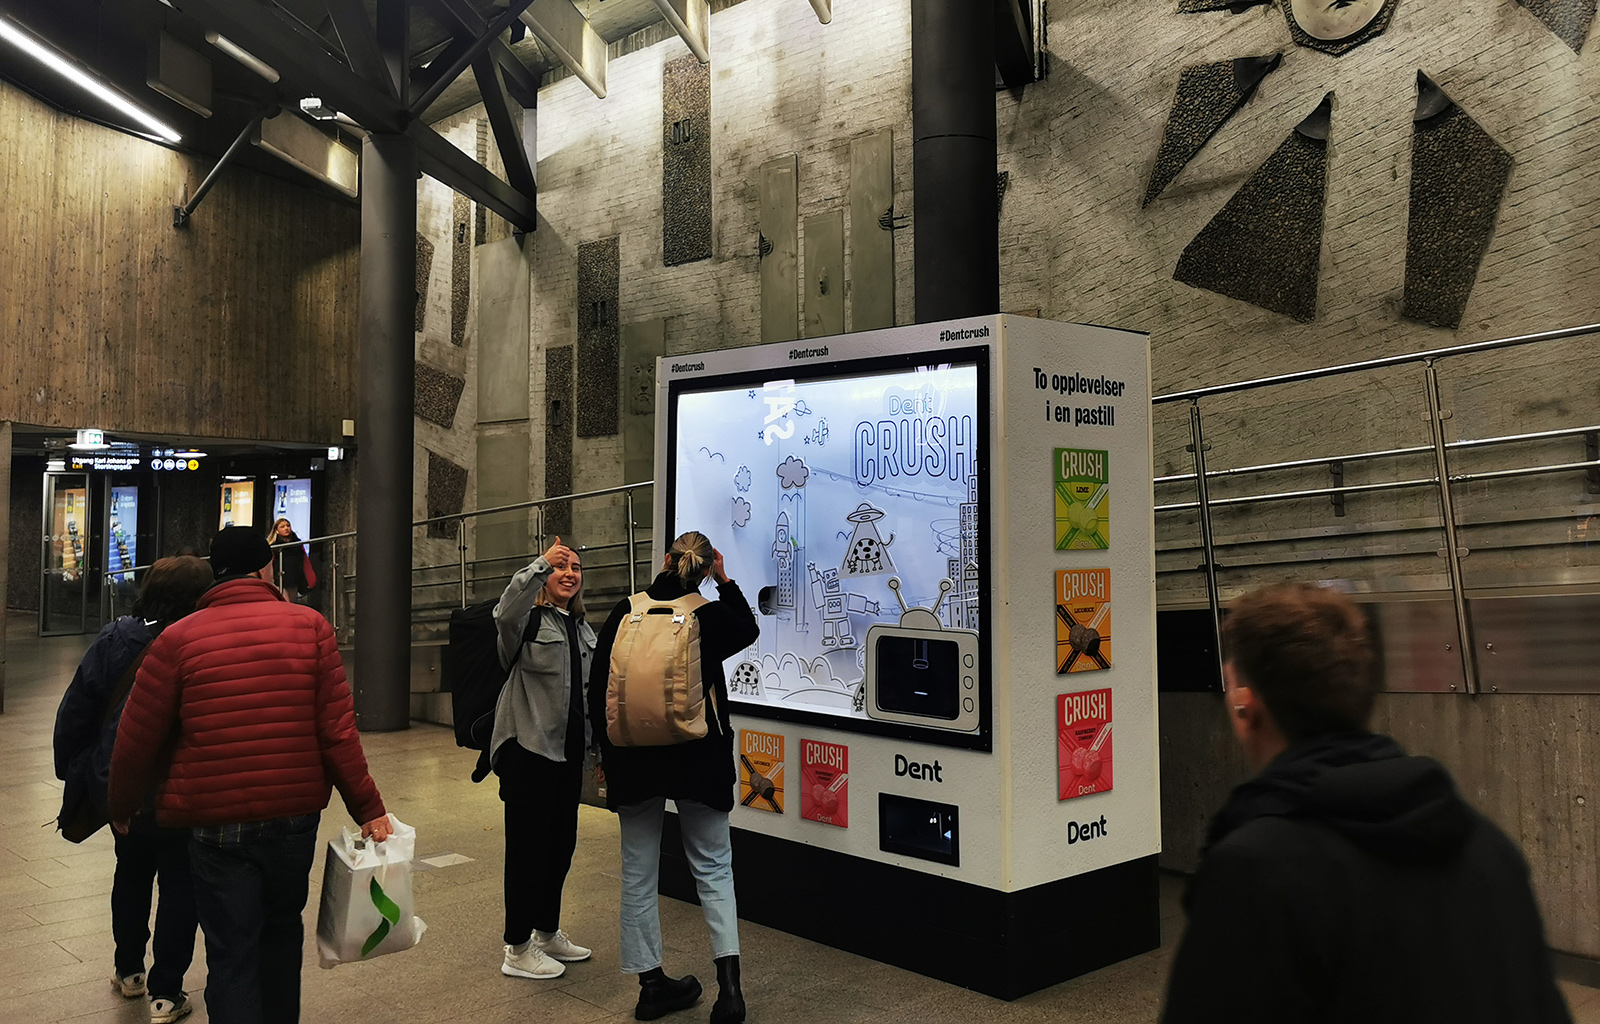
The DENT Crush Candy Marble Run
24 January 2022 at 10:02 pm
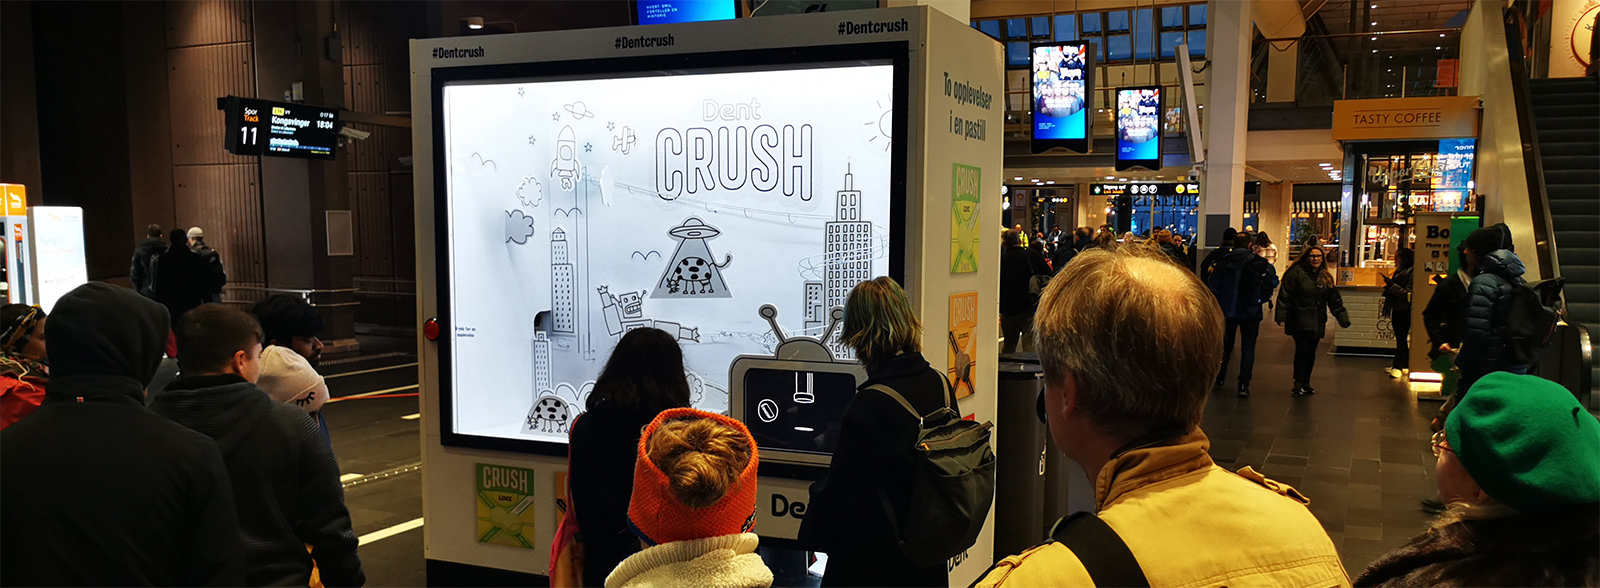
About once a year I’ll get an offer that I can’t seem to refuse. A project that just looks like too much fun that has multiple options for failure and tight deadlines. I love those and this is my favorite thus far!
Just before the summer holidays I was contacted by JCDecaux - the largest outdoor adververtising agency. I’ve done several fun projects for them such as:
* Making a roof lift up/down for a week so it could reveal a sign with the name of a roof contractor
* Make a giant timer on a billboard that would call a Pizza firm and they would deliver a meal to you within 15 minutes (scroll down on this page)
* A 1.2 meter tall phone where you could call the whole world for free
So when they called me to plan a marble run for a (sugar free) candy that also worked as a sampling machine, I was all ears. After the meeting I drew up a budget and didn’t hear back until it was just 6 weeks for it to be finished. It’s actually always like this? All customers seem to take 2-4 months to decide and then start the project only as the deadline is approaching. Just as the project started, we were only half way through moving Bitraf so I was really stressed out. I started ordering parts that I knew that I’d need and I ordered everything from at least two sources. Most of these wouldn’t arrive until 2 weeks later, so in reality I only had 4 weeks to complete the project.
TL;DR If you don’t care about the build process, there is a video at the bottom of this post. This article is primarily to document the build and lessons learned in case others want to build something similar.
The initial idea
The plan was to make a marble run that was 2x1.25 meters (78x49 inches) using 2-4 mm (0.08-0.16 inch) steel wire. Since the ball would contain a box of candy, it had to be 75mm (3 inch) in diameter or bigger. Getting hold of the right wire was actually hard and I tried several variants without finding a good solution. If the wire was too thin, it would bend over time and look flimsy. It was too thick, it would be hard to bend it.
The selection of the wire thickness was also dependant on the ball. If a plastic ball with candy inside was too light, I would need to weigh it down. The first tests with an empty candy package with a 3D printed insert filled with BB bullets showed that uneven weight distribution would make it hard for the ball to roll. I then considered casting the candy inside a resin ball to add weight, but before I could try this the plastic balls arrived. It seemed like I could make this work with only the original candy box and the plastic ball? That would look much better if something went wrong and it would also make the maintenance easier.
Serving out the candy samples would also be a challenge. My vending would have to work every time, so how hard can it be? There is after all a global business with many thousands of employees that have dispensing and vending machines as their livelihood. So I expected to run into major issues with this as well. I ordered spirals from two chinese vendors, one local and I talked to a two-person firm that had a commercial wire-bender. This last one turned out to be completely crucial to solving the entire project!
Figuring out the Physics
Since Bitraf wasn’t anywhere near finished moving in, I wouldn’t have access to my usual workspace or tools for such a project. The solution was to use the temporary garage from the Van project. It was cold, but we Norwegians are used to cold weather. You just use warmer clothes?
My initial idea for the candy run was to use just plain solder like in this video but that really did not work at all. It turns out that Physics matter?
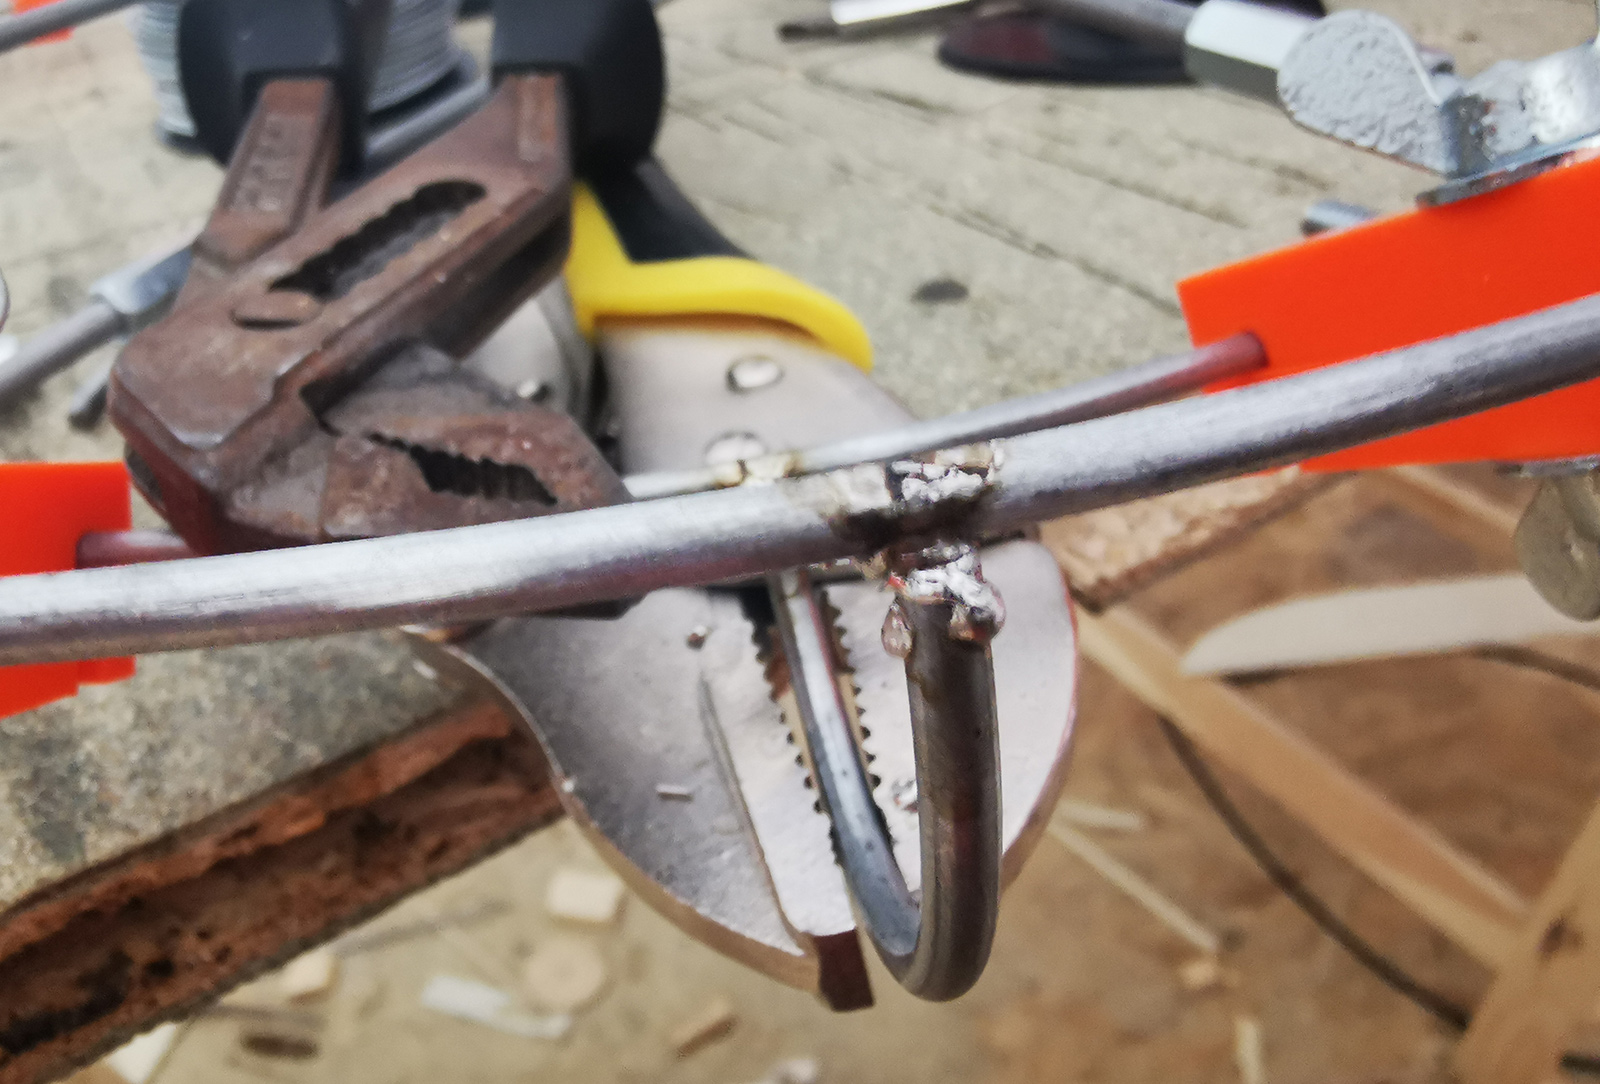
All those Youtube videos make it look so easy, but when you scale the marble run up - the physics don’t scale with it? There is a max size for any blob of solder and beyond that it’ll fall instead of sticking to the steel wire. Welding seemed like the next logical solution, but since I never welded before it would take some time to learn. I started MIG welding and it turned out decent. The problem was just that to change the wires, I would have to cut them? Now that’s a lot of work. There has to be a better way I thought. Another issue was that the 4mm wire I had found was galvanized. If you try to weld anything galvanized, you get what is called metal fume fever. The symptoms range from flu-like to death, so I’m glad I read up on that before welding.
So what to do? Just ask ppl at your local friendly hackspace of course? Nikolai and Mattias at Bitraf suggested that I’d use silver or copper solder. This is basically a metal stick with flux coating. As you heat up the metal, the flux also starts flowing - ensuring a clean surface to bond to. Seeing that copper solder required higher temperatures, I started with silver solder and it looked amazing! Not just that - the process was really smooth. If you wanted to re-do a connection, you’d just heat it up again. Here’s the process:
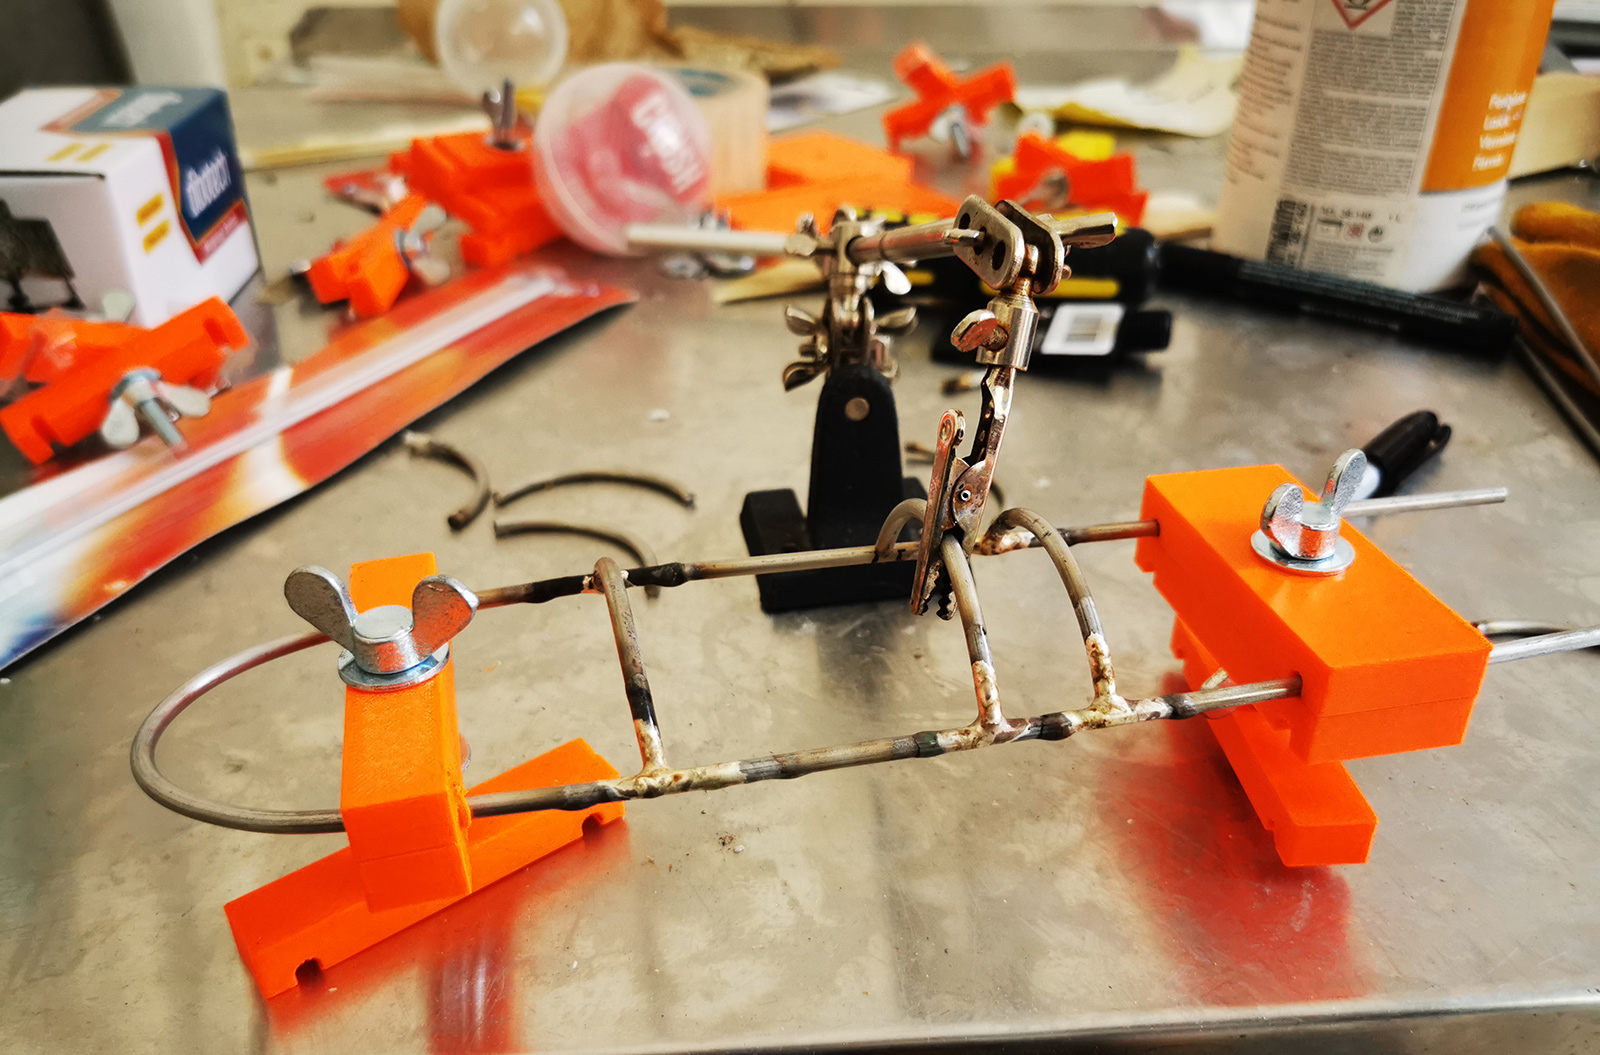
You basically just hold two metal pieces next to each other. The silver solder will only stick to what is red hot, filling in any holes and making perfect fillets. I made 3D printed jigs that would keep the tracks at a fixed spacing. I used a third hand for holding metal to be soldered and I always used welding gloves. The few times I forgot - I remembered why I was supposed to wear them…
Finding the right wire
Another problem what that the galvanized wire bent too easily. What I used was made for farmers to tie fences from, so it was easy to bend. This also meant that the track might deform during transport and over time. It was really hard to find a wire supplier that had stronger wire, but then I remembered a friend at Bitraf mentioning that he used a firm to bend silver wire for jewelery. He recommended that I check them out. Their website didn’t instill a lot of confidence, but the people there were truly skilled. Not only did they supply proper piano wire in 3.5mm, but they could also make custom spirals for the vending? I drew one up in CAD and sent them the file.
Using the high quality piano wire, I built the track in pieces. Each bit was sanded and sprayed to a chrome finish to make them look good quickly. If I had more time/budget I would have polished them for a better finish, but given the time constraint this was good enough. When the track was finished, I had about 2 weeks left untlil delivery. I had not started working on the vending or the electronics, but I had nailed the basics of track making.
Remaking the track
After making the first version, I scrapped the whole thing and rebuilt the tracks from scratch. Using this wire-bending machine, I could fairly easily bend wires to any dimension, but getting them paralell was of course a pain. It looked much more professional than the first version thanks to more experience. I picked up some nice veneer and then remade the back wall so it all was ready to be covered in foil and graphics.
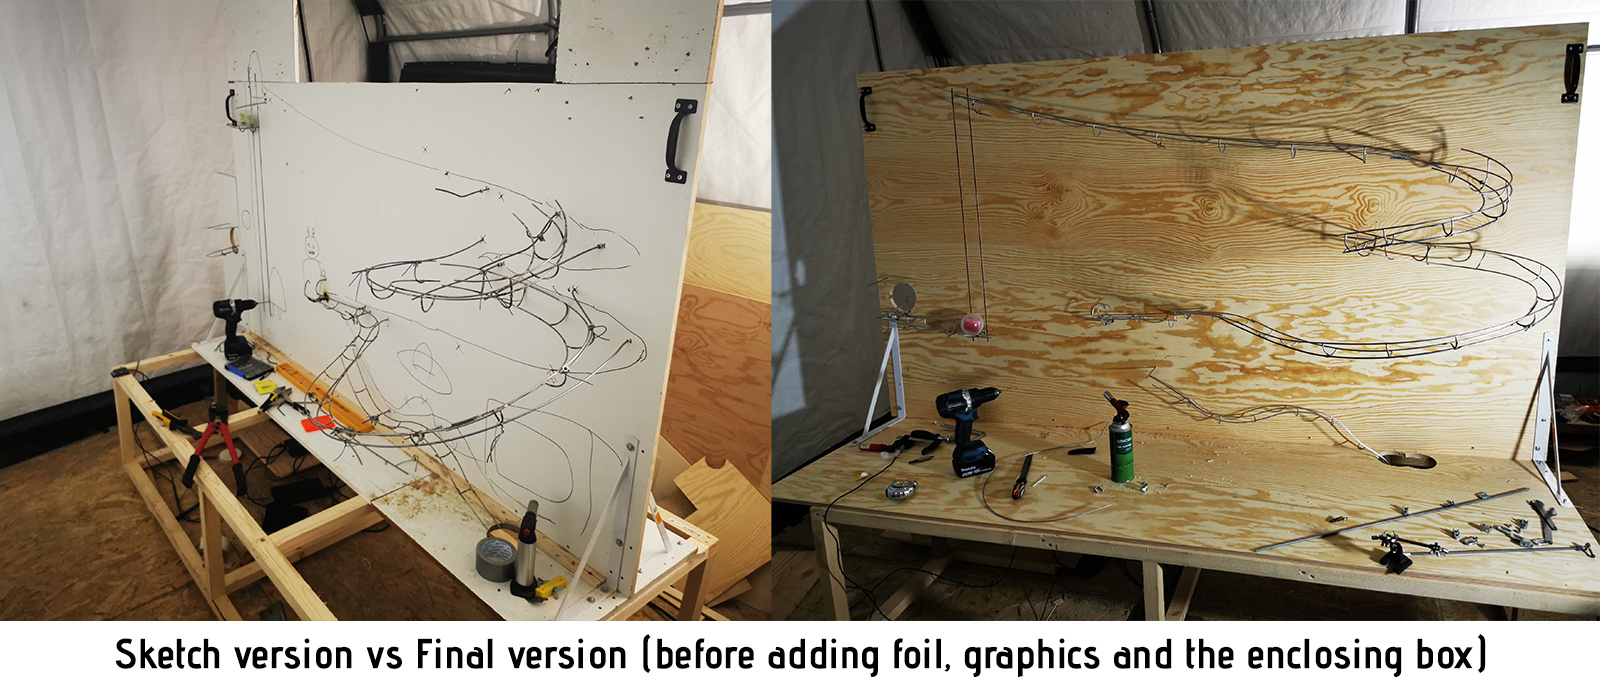
Doing this, made it all look much better and I also started building out the complete track. The transporting of the ball required electronics to sense where the ball was as well as to control the lift. I made the lift using two electric height adjustable legs from an office desk. The vendor (Linak) helped me hack the electronics, so I could control it from an Arduino using a couple Relays.
I was fumbling with the vending spirals purchased from china and the local firm. None of them were ideal, but it kind of worked. At that time, Norfjær had finished my custom vending spirals and they were MUCH better than the commercial stuff? The commercial ones are all made for small machines, so they could only hold 12-15 packs of candy. My custom one could hold 30+ and had no problems with the geared motors I had. All I did was make a 3D printed adapter between the motor and the spiral and that part was basically taken care of. This surprised me as I had expected this to be much more difficult. Every evening I would shoot a short video so JCDecaux could follow my progress and this is the one I made on the spirals.
The electronics
I knew that I wanted WiFi later, so I based the setup on the official Arduino Uno Wifi 2. If you know your microcontrollers, you might be thinking why use something with Arduino Uno form factor? Why not use an ESP32 or something smaller? Size wasn’t important here and if you’re building something on such a tight deadline like this, you don’t have time to make custom PCB’s (like I normally do) or other hardware. You’ll just have to use something that already works. With this form factor, I could use the Welleman KA05 shield that has 6 relays, 6 inputs and 6 outputs. That solves a lot of IO without having to make anything custom.
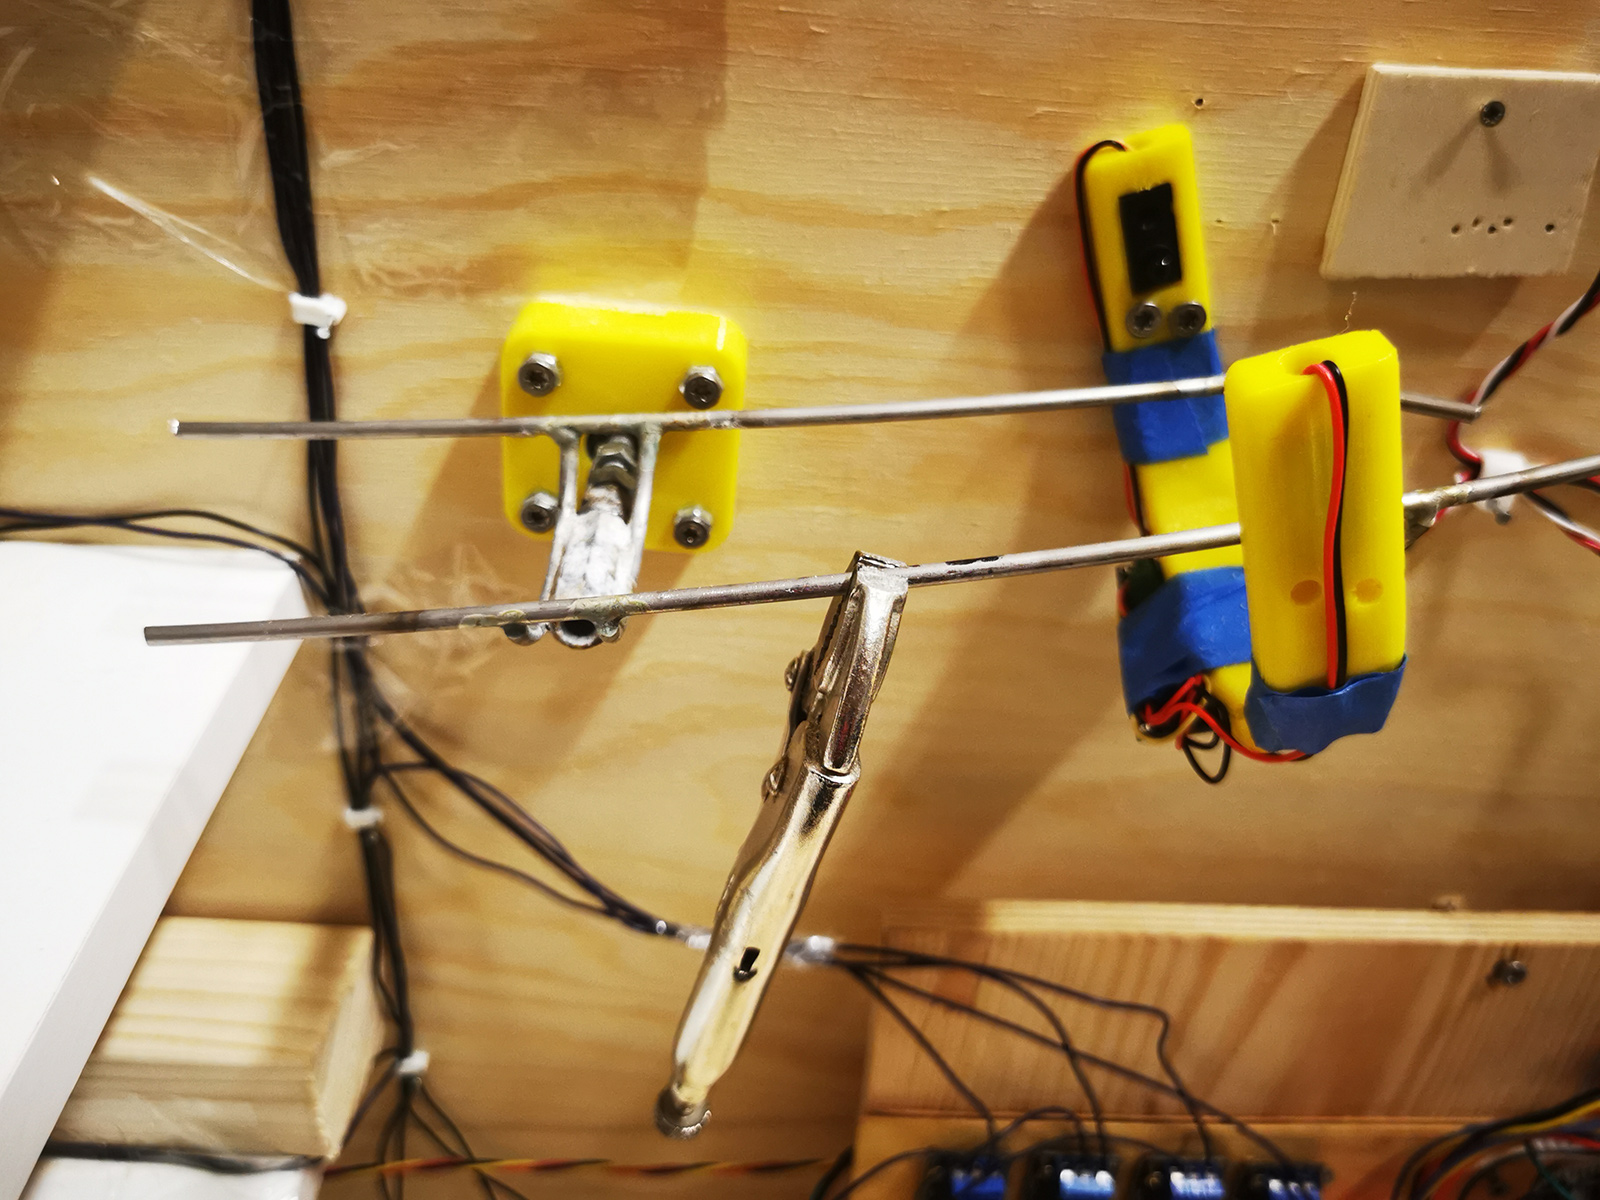
My original plan was to use some super precise Time Of Flight (TOF) sensors from Adafruit, but since these were I2C based, you can only strech the cables that far before you get noise problems. So thanks to Digikey now selling Adafruit products, I could get a replacement in just two days. The solution was to use these cheap and basic Break Beam sensors. Very reliable and perfectly aligned thanks to a 3D printed U-shaped holder. Here you can see a sensor as well as my super simple mechanism for adjusting the weight on the tilt-bridge of the track - just normal locking pliers. Clamps well and easy to adjust.
With the electronics in place, we moved the track from my temporary garage to the JCD main office. They had prepared the box that would go around the track with pretty graphics and text. Here we also installed the monitor that would show an animation of the CRUSH when the ball had finished it’s run. For this, we used a BrightSign video player. These can be triggered easily from an Arduino using an optically isolated relay. Since the Brightsign player has multiple inputs, we could also trigger a custom animation if something went wrong or the machine was out of candy.
Testing and launch
With just 3 days to spare, we did the final assembly and I tested from Friday to Sunday. We were pretty sure that we had nailed all the problems (we were not) and I had added a solution that sent Push messages if something went wrong. It’s called PushSafer and allows you to send notifications to anyone. All they need is to install the app. Only the owner of the app needs an account with them. All they do is scan a QR code and they’ll get notifications. You pay $1 for 1000 notifications and the pricing gets better if you buy more. For projects like this, it really is the perfect solution as it took less then 15 minutes to add it to my firmware. The machine notifies is the ball is lost, if 3/4 of the candy has been dispensed and if the machine is out of candy.
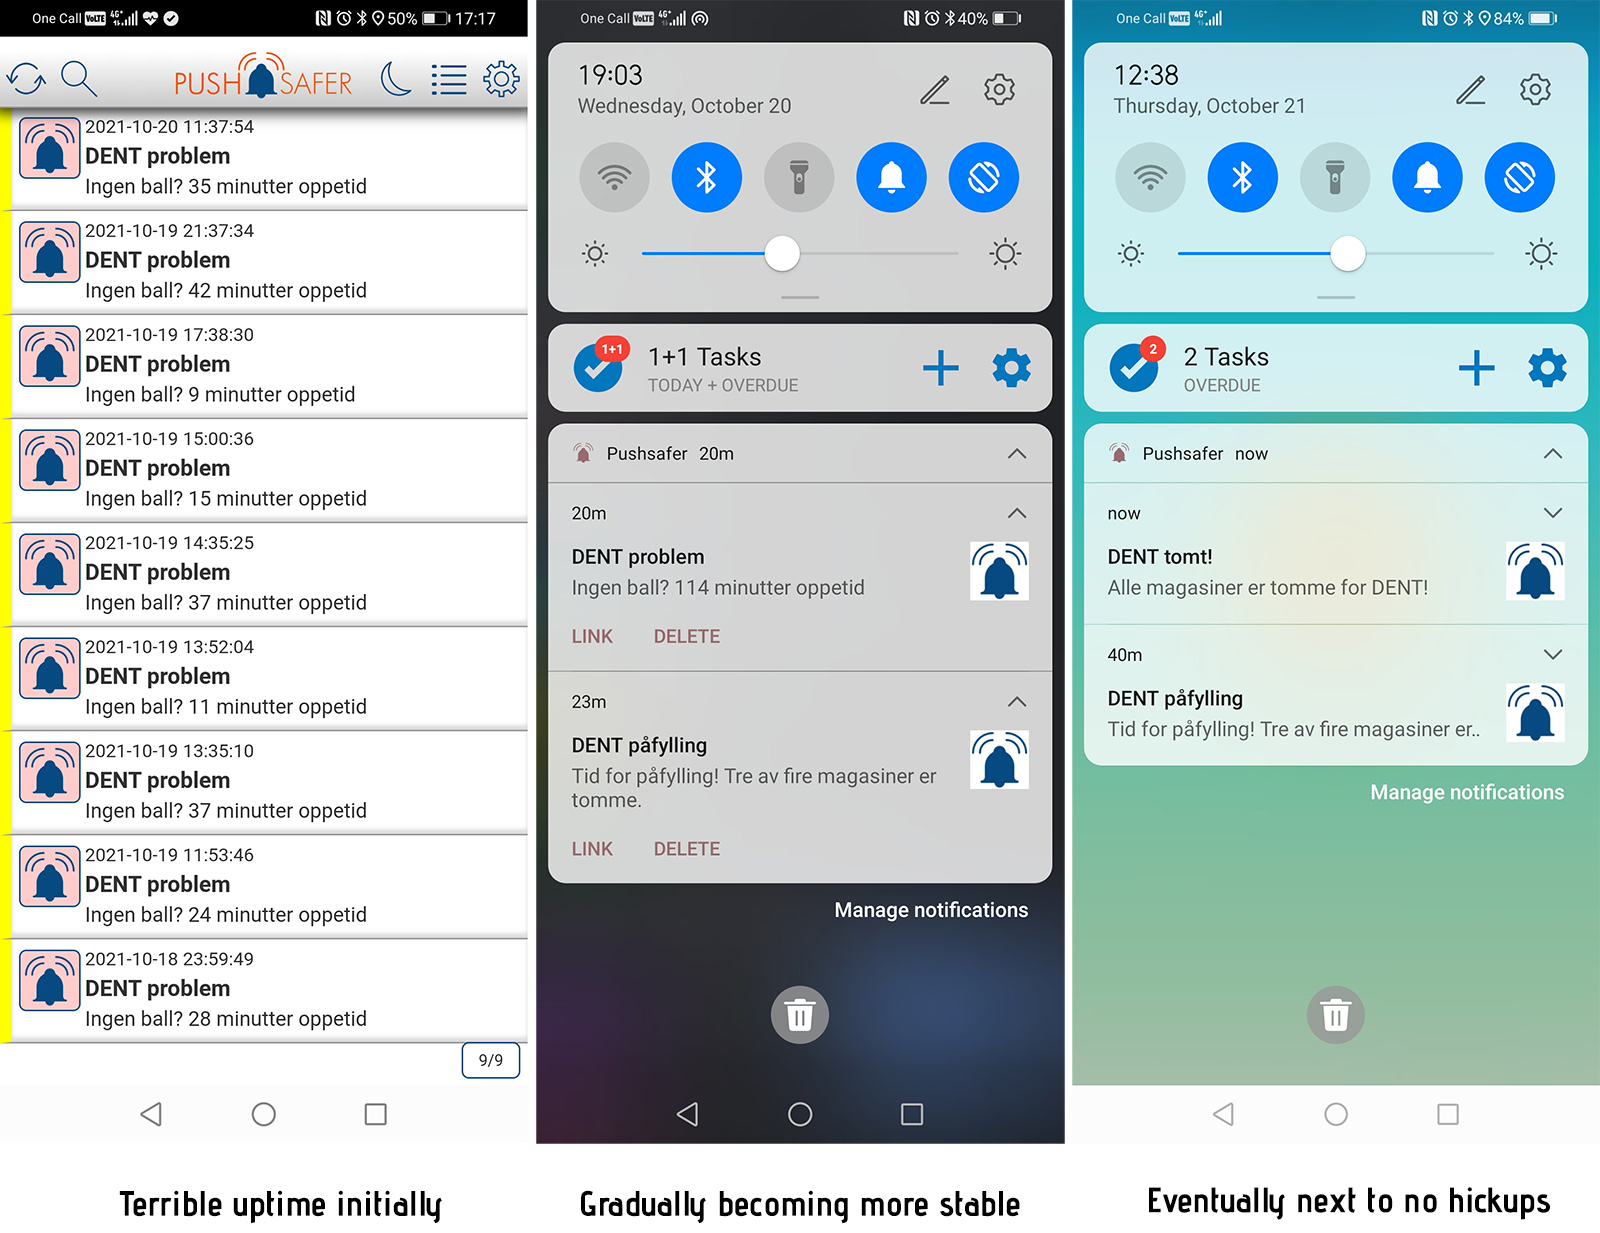
Throughout the testing, the machine performed really well. Only on very rare occasions would the ball jump off the tracks, but as we soon got to know that would be too often. After three days of assembly and testing, the machine was taken apart and mounted on Oslo Central Station. This might be the biggest transport hub in Norway, so thousands of eyes on the machine from day one. The assembly went well and for the first two hours, there wasn’t a single problem. It just worked perfectly!
So did it continue just as smooth? Let’s just say that it took a few days to get it “stable”? The ball would jump out of it’s track in surprising ways. The machine would notify every time it stopped so we could fix things as they happened, but it was a lot of alerts initially. I’d basically sit at the Starbucks that had a view to the machine and work while waiting for errors. Eventually you’d only get 4-8 alerts in a day. Half of these would be for you to fill up the machine and in other cases, you’d just throw in a new ball with candy.
We also got press! Having a big red button that everyone needs to press is not such a smart idea during covid. After the article in Dagbladet, we put up a antibac dispenser and a note to use your elbow to push the button.
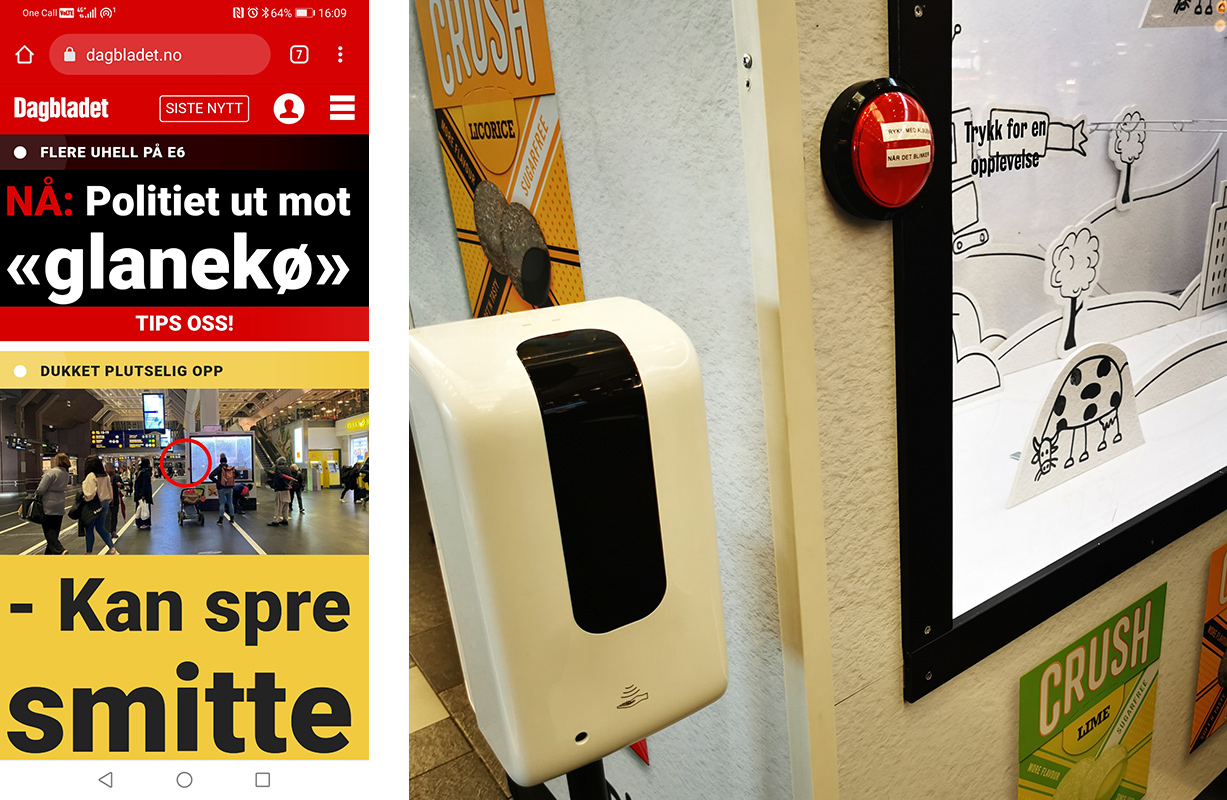
We were just so focused on getting the machine done that we forgot for a moment and it was easily remedied. After a week at Oslo Central Station, the machine spent another week at the National Theatre station. The machine is now installed at the Brynild candy factory down in Fredrikstad.